
Click the gear icon to access settings.
Depending on your UC San Diego department, your email account will be either in Office 365 or Google Workspace for Education. In INC, accounts are provisioned within the Office 365 environment which offers somewhat better calendaring and scheduling features since all the conference rooms across the campus are already in Active Directory (AD) and directly accessible for scheduling within the Office 365 environment.
For Office 365, access https://outlook.office.com. Then use your email address and AD password to log in. You may be required to use Duo Two-Step Login.
For Google Workspace for Education, access https://gmail.com. Then use your email address and AD password to log in. You may be required to use Duo Two-Step Login.
Learn how to send encrypted emails from UC San Diego, including UC San Diego Health.
Subject: secure: Very sensitive information
Note: Each message in a conversation you wish to encrypt must include the key phrase in the subject line.
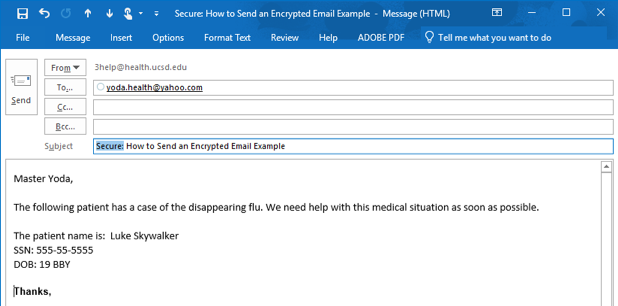
There is a process to receiving an encrypted message. To the first time recipient, this may look suspicious and could be ignored. Before you send an encrypted message, notify your recipient of the coming message and send them these instructions.
For assistance, contact the ITS Service Desk, (858) 246-4357.
Log onto https://outlook.office.com using your UCSD email address and AD password.
Click the gear icon to access settings.

Click View all Outlook settings (near the bottom of the page).
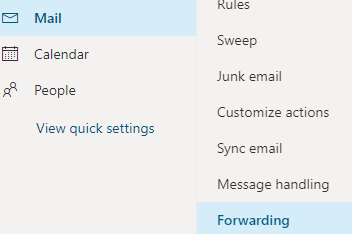
Under Mail, select Forwarding.
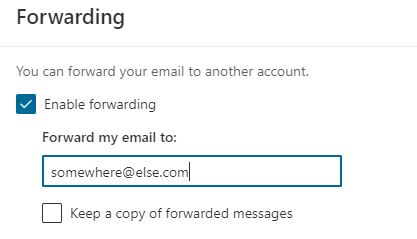
Click Enable forwarding and type in your destination email address.
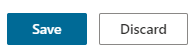
Don't forget to click Save (near the bottom of the page) to start the mail forwarding.
If you created a Gmail account in the past solely for University use, you most likely used your UCSD email address as the username. This is what we will define to be a "personal UCSD Gmail account".
This procedure will migrate all mail from your personal UCSD Gmail account to the new Google Workspace for Education account. The benefit is that the University account has virtually unlimited space compared to your personal account. This procedure will only migrate email. You are responsible for downloading and moving all other Google Docs that you may have saved in your personal UCSD Gmail account.
Your Google Workspace for Education Gmail account will retrieve all messages from your personal UCSD Gmail account. This may take a while if you have thousands of messages, so be patient.
After the mail import process is complete, there will be no more mail in your personal UCSD Gmail account. However, you may still receive mail to that old account, so these steps will make sure those messages get forwarded to your new account.
Now that all your mail is in one location and incoming mail to the personal UCSD Gmail account is being properly forwarded to the Google Workspace for Education Gmail account, you can remove the POP account from your Google Workspace for Education Gmail account.
Open your Gmail.
Click  .
.
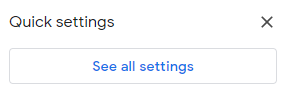
Click See all settings.
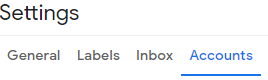
Click Accounts or Accounts and Import.

Click Add a mail account under the Check mail from other accounts heading.
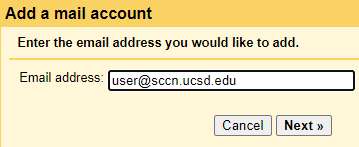
Enter your email address for the SCCN account.
Click Next.
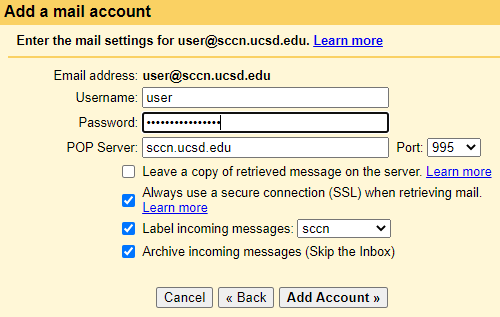
Enter your SCCN username.
Enter your SCCN password.
Apply a label (recommended). You can either use an existing label or create a new one in this step.
If you want these messages to appear only under your new label heading and not in your Inbox, click the box Archive incoming messages (Skip the Inbox). You can always move or copy these messages back to the Inbox, if desired, after the mail import is complete.
Click Add Account.

Check No.
Click Finish.